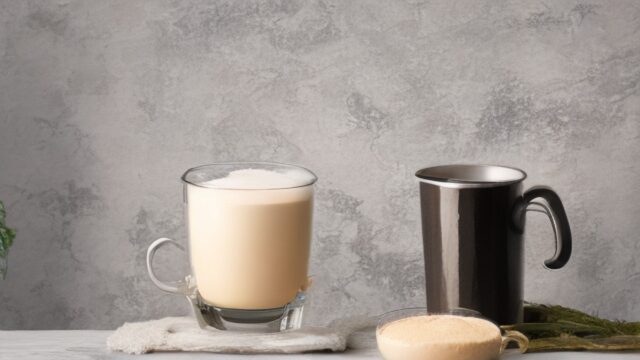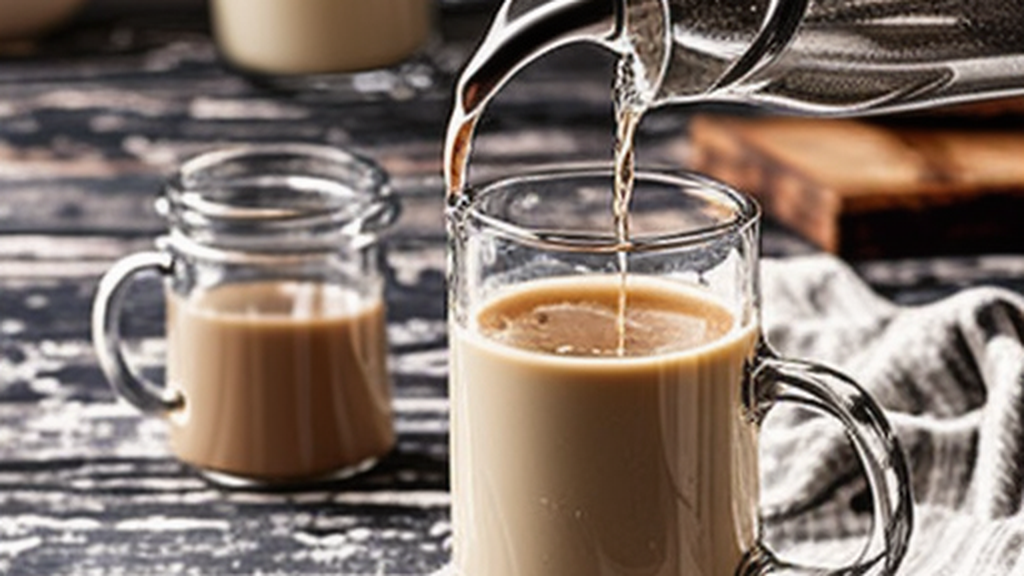
Store-bought coffee creamer has a problem: check the label and you’ll usually find a short list of dairy ingredients followed by a much longer list of stabilizers, gums, and artificial flavor. Homemade coffee creamer skips all of that. It takes about five minutes to make, keeps for a week or two in the fridge, and costs a fraction of the bottled version — with a flavor that actually tastes like real vanilla, real caramel, or real hazelnut, because it is.
The base recipe
Every homemade coffee creamer starts with the same two ingredients in different ratios: a dairy or non-dairy milk, and a sweetened condensed component for body and richness. Our go-to base is:
- 1 cup whole milk or half-and-half
- 1/2 cup sweetened condensed milk (or 1/3 cup sugar + extra creaminess from heavy cream)
- Flavoring of choice (see recipes below)
Whisk everything together in a jar or shake it in a sealed container. That’s the entire technique — no cooking required for most versions, though a couple of the recipes below benefit from a quick simmer to bloom the flavor.
1. Classic vanilla creamer
The one everyone should start with. Combine 1 cup half-and-half, 1/2 cup sweetened condensed milk, and 1 tablespoon real vanilla extract (not imitation — it makes a noticeable difference). Shake well. This tastes remarkably close to the “French vanilla” bottles at the grocery store, minus the artificial aftertaste.
2. Caramel creamer
Warm 1 cup half-and-half in a small saucepan over low heat. Stir in 3 tablespoons caramel sauce (store-bought or homemade) and a pinch of salt until fully dissolved. Remove from heat, let cool, then refrigerate. The salt isn’t optional — it’s what keeps this from tasting flat and one-note.
3. Cinnamon hazelnut creamer
Combine 1 cup milk, 1/2 cup sweetened condensed milk, 1 teaspoon hazelnut extract, and 1/2 teaspoon ground cinnamon. This one pairs especially well with medium and dark roasts, where the nutty, spiced notes complement the coffee’s own roastiness instead of fighting it.
4. Pumpkin spice creamer
Whisk 1 cup half-and-half with 1/4 cup pumpkin purée (the real thing, not pie filling), 3 tablespoons brown sugar, and 1 teaspoon pumpkin pie spice. Warm gently over low heat for 2–3 minutes to let the spices bloom, then cool and refrigerate. It’s the fall drink-through-a-window flavor, made with ingredients you can actually pronounce.
5. Dairy-free coconut creamer
Shake 1 can full-fat coconut milk with 2 tablespoons maple syrup and 1 teaspoon vanilla extract. Coconut milk’s natural fat content gives it a richness that thinner oat or almond milks can’t match, so this is the one to reach for if you want a dairy-free creamer that still feels indulgent.
How long does homemade creamer last?
Dairy-based creamers keep for 7–10 days refrigerated in a sealed jar or bottle. The coconut version keeps slightly longer, around 10–14 days. Always give the jar a shake before pouring — natural separation is normal and doesn’t mean it has gone bad. If it smells sour or has visible mold, toss it.
Why make your own?
Beyond flavor, homemade creamer lets you control sweetness precisely — most store brands are sweeter than they need to be to mask thinner, cheaper ingredients. You also avoid carrageenan and artificial flavoring, and you can scale a recipe up or down in seconds instead of being stuck with whatever ratio the bottle shipped with.
Pairing creamer with your brew
Creamer works best with a coffee that has enough backbone to stand up to it. A full-bodied French press brew or a medium-dark roast holds its own against sweet, rich creamer far better than a delicate light roast, whose subtle fruit and floral notes tend to get buried. If you’re brewing specifically to pair with creamer, aim for the stronger end of our ratio chart — around 1:15 rather than 1:17.
Troubleshooting common creamer problems
If your creamer separates in the fridge, that’s normal — fat and liquid naturally settle when there’s no stabilizer holding them together artificially. A firm shake before each use fixes it instantly. If your creamer tastes too thin, you likely used milk instead of half-and-half, or your ratio leaned too far toward milk; add another tablespoon of sweetened condensed milk to thicken it back up. If it curdles when added to hot coffee, the coffee is likely too acidic for that particular dairy ratio — try using half-and-half or heavy cream instead of thinner milk, since higher fat content resists curdling far better than skim or low-fat milk.
Scaling up for meal prep
Because these recipes are simple ratios, they scale cleanly for a week’s worth of coffee. Multiply any recipe by 4 or 5 and store in a quart-sized mason jar — just make sure to shake it each morning, since natural separation happens faster in larger batches without commercial stabilizers. Label the jar with the flavor and the date you made it, since after a week or so in the fridge it’s easy to lose track of freshness, especially if you’re rotating between two or three flavors at once.
Gifting homemade creamer
A jar of homemade coffee creamer, dressed up with a ribbon and a handwritten flavor label, makes a genuinely welcome small gift for coffee-loving friends and neighbors around the holidays. Choose a flavor that keeps well for gifting, like vanilla or caramel, and let the recipient know it needs refrigeration and roughly a week’s shelf life — most people assume homemade creamer behaves like a shelf-stable bottled product, so a quick note avoids any confusion.
Frequently asked questions
Can I use plant milk instead of dairy?
Yes, though the texture changes. Oat milk creamer will be thinner and less rich than a half-and-half version; coconut milk (full-fat, from a can) is the closest dairy substitute for body and mouthfeel.
Does homemade creamer need to be heated?
No — most recipes are simply whisked or shaken cold. Only the caramel and pumpkin spice versions benefit from gentle warming, and that’s to dissolve ingredients and bloom spices, not a food-safety requirement.
Can I make a big batch?
Absolutely. Every recipe above scales linearly — double or triple the ingredients and store in a larger jar. Just keep the same 7–10 day fridge window in mind before you scale up too far.